2019. 12. 21. 20:44ㆍIT/C
Visual Studio Code에서 C언어 공부 진행 예정(이하 vscode라함)
vscode을 선택한 이유 : 노트북 mac, 데스크탑 Window, 라즈베리파이 ubuntu을 사용하기 때문에 소스 코드 관리하기 위해 vscode을 사용하게 됨
MAC에서 설정 방법
1. vscode을 다운
Visual Studio Code - Code Editing. Redefined
Visual Studio Code is a code editor redefined and optimized for building and debugging modern web and cloud applications. Visual Studio Code is free and available on your favorite platform - Linux, macOS, and Windows.
code.visualstudio.com
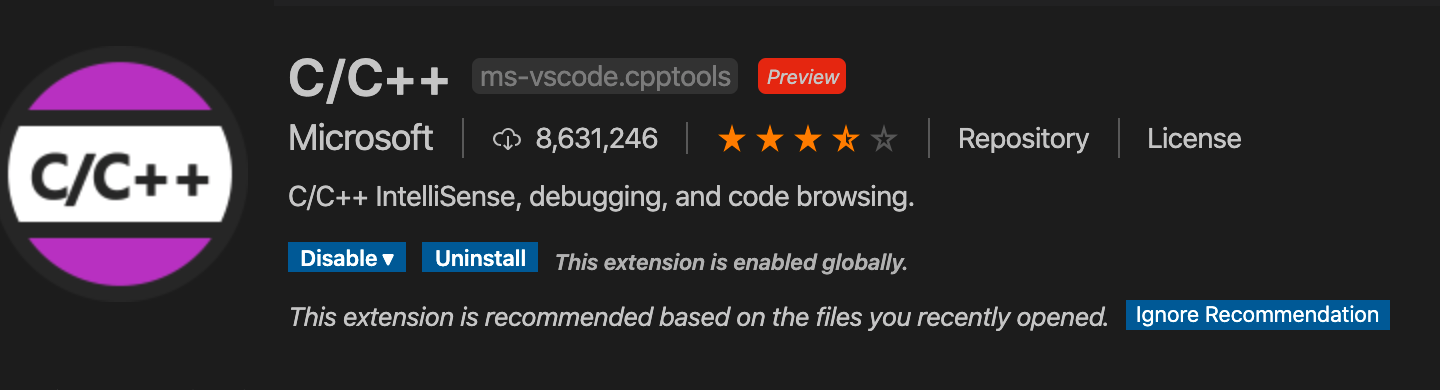
2, vscode c언어 Extension(한글로 사용할꺼면 한글 설치도 있음)
- c/c++ 검색하여 설치(문법 강조)
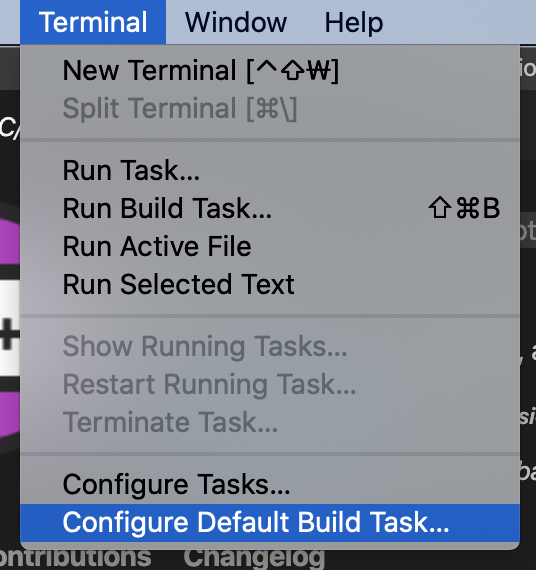
3. vscode c언어 컴파일 설정
1. Terminal 에서 Configure Default Build Task..선택
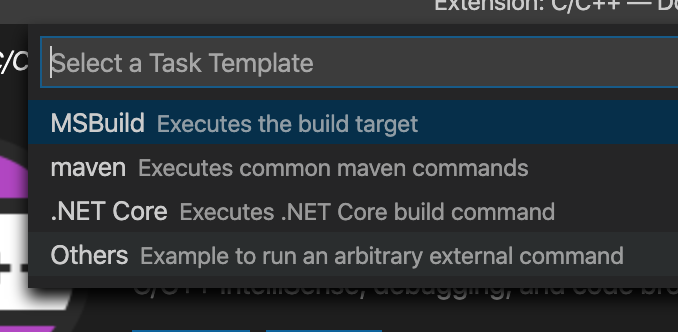
2. Create tasks.json file from template을 선택한다.

3. Othres을 선택한다.
4. 열린 task.json을 다음과 같이 대체한다.
{
    "version": "2.0.0",
    "runner": "terminal",
    "type": "shell",
    "echoCommand": true,
    "presentation" : { "reveal": "always" },
    "tasks": [
        {
            "label": "save and compil for C",
            "command": "/usr/bin/clang",
            "args": [
                "-g",
                "${file}",
                "-o",
                "${fileDirname}/${fileBasenameNoExtension}"
            ],
            "options": {
                "cwd": "/usr/bin"
            },
            "group": "build",
            "problemMatcher": [
                "$gcc"
            ]
        },
        {
            "label": "execute",
            "command": "cd ${fileDirname} && ./${fileBasenameNoExtension}",
            "group": "test"
        }
    ]
}
5. 컴파일과 실행을 간편하게 할 수 있도록 단축키 수정, Preferences -> Keyboard Shortcuts
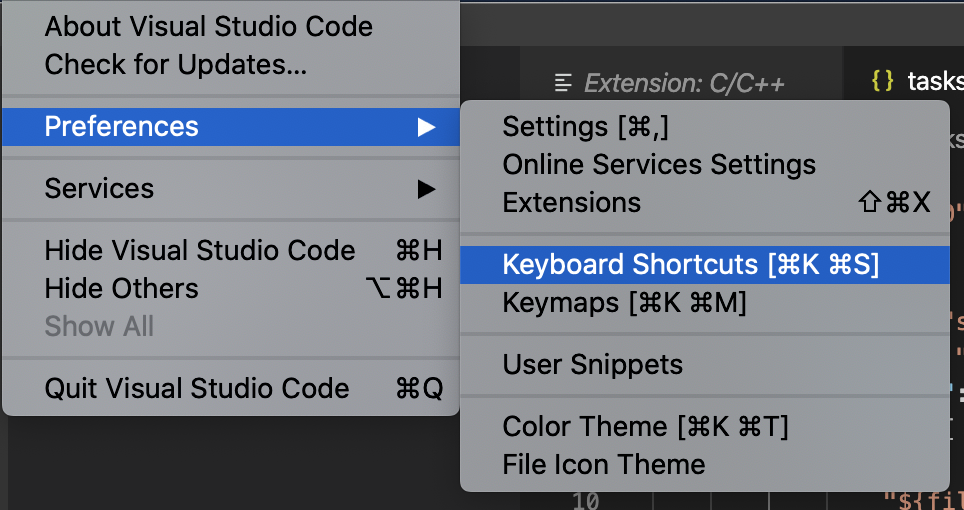
6. 다음 두개를 각각 검색하면 단축키를 수정해준다.(mac기준)
컴파일 : workbench.action.tasks.build -> contol + c
실행 : workbench.action.tasks.test -> control + r
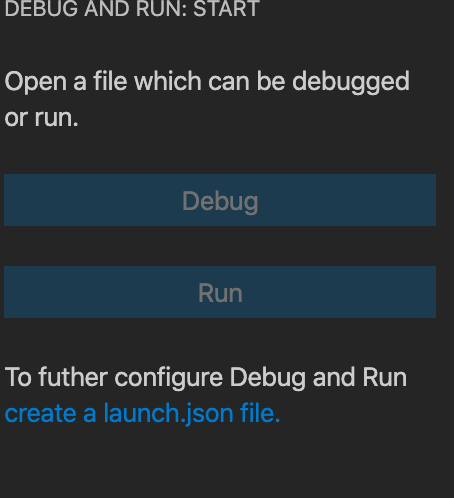
7. 디버깅 기능 추가 -> create a launch.json file을 선택한다.
8. 열린 launch.json 파일을 다음과 같이 수정한다.
{
    // Use IntelliSense to learn about possible attributes.
    // Hover to view descriptions of existing attributes.
    // For more information, visit: https://go.microsoft.com/fwlink/?linkid=830387
    "version": "0.2.0",
    "configurations": [
        {
            "name": "Debugging",
            "type": "lldb",
            "request": "launch",
            "program": "${fileDirname}/${fileBasenameNoExtension}",
            "args": [],
            "stopAtEntry": false,
            "cwd": "${workspaceFolder}",
            "environment": [],
            "externalConsole": false,
            "MIMode": "lldb"
        }
    ]
}
그다음은 break point 설정 후 디버깅 시작